
How I Made These Ice Cream Cone Cupcakes From The Dollar Store
Are you someone that loves cupcakes in all shapes and forms? What about cupcakes that look like something completely different?
Chances are you may have seen a recipe or two floating around the internet about how to create these “ice cream” cupcake cones. It’s a cute idea and I wanted to create the dollar store girl version!
It’s always a fun time in the kitchen, especially when it’s a baking posts that’s all about sugar!

If you’re just as excited as I am about cupcakes then please continue reading. You will see plenty of pictures documenting the process and lots of helpful instructional text to guide you along the way.
The process from start to finish for this cupcake recipe doesn’t take much time to complete. I would say between preheating your oven, to making the batter, and cool down and icing + toppings, it would take most people close to 2.5 hours.
The inspiration for this cupcake actually came from a TV chef named Chef Michael Smith. I thought it was the coolest thing. I had never seen anything like it before and I just thought how crazy genius it was. I was impressed.
You can imagine my happiness when all the necessary ingredients, such as the cake mix, icing and ice cream cones were all fully stocked at the dollar store. I was fully expecting not to find the ice cream cones but they were right near the cash register.
It was a happy day.
Now I think I’ve talked too much. So let’s get right into it!
Get ready for a simple, fun and genius cupcake recipe!
Things you will need:
Ice cream cones
Icing bag
Clean your work area
I always forget (or more truthfully, too lazy to do it) to clean my work area. I can’t tell you about the countless times I have neglected to clean up around me and I paid for it with feelings of frustration, stress and ended up being a lot more messier than I would have thought.
You see, with a clean countertop/stove top and empty sink, the entire recipe from beginning to end will run much more smoothly and with less swear words. And if you’re a blogger like myself and take pictures during the process, you’ll have better looking pictures and you won’t have to do any unnecessary cropping to remove debris from the background.
Prepare and organize your ingredients, materials
It’s important that you are prepared and you organize the materials and ingredients that you need in the order that you need them. For example, have your muffin tin ready on the side closest to oven.
When everything you need is within arms reach or easy to get to, it becomes mess free, and that’s what we all want!
Read the back of the cake mix box
It’s a good idea to read the back of your box because it contains valuable information that can help you bake better.
Preheat your oven
Depending on the instructions of your cake mix, preheat your oven accordingly before you begin making your batter.
Make your batter
The dollar store is always fully stocked with cake mix. I can usually find about three flavours that I can choose from. This time I chose the confetti cake (it’s vanilla batter with cake sprinkles). But it is completely up to you to choose the flavour of your choice!


The steps to make the batter are always included on the back of the cake mix box, so do not throw it out! I have made cake batter so many times, I can make this with my eyes closed. Kinda.
I use the betty crocker cake mix, so they usually ask that I supply the milk/water, eggs and oil. Most people have these ingredients at home but if you don’t, there may be some alternatives you could use instead.
Open your box of cones
With your muffin tin already placed near your oven, open your box of ice cream cones and gently place each cone in the centre of each muffin holder. I used the entire tin but you can choose how many cones you wish to add.
Pour your batter
Using a ladle, fill your cone until 1/2 or 2/3 full.

Place in oven
Once your oven has successfully reached its appropriate temperature, carefully lift and place your muffin tin with cone filled batter into the oven. It’s best to do this when there is no one around you in the kitchen as to avoid accidentally being bumped into.
Watch em’ bake
You will receive instruction on how much time to bake them for, however this is a unique mold (ice cream cone) so the time it takes to bake might have to be adjusted. The box advised to bake for 17 minutes but after looking at the batter itself, I decided another few minutes would help it bake better and reach a more solid state.
It is a strong possibility that your cones might pour over the cone and drip but it doesn’t matter too much because you can scrap it off and cover the imperfections later with icing.

Let them cool
After removing from the oven, let your cones cool before you begin icing or removing any excess cake from the sides. Let them cool for at least half an hour.
Begin the icing
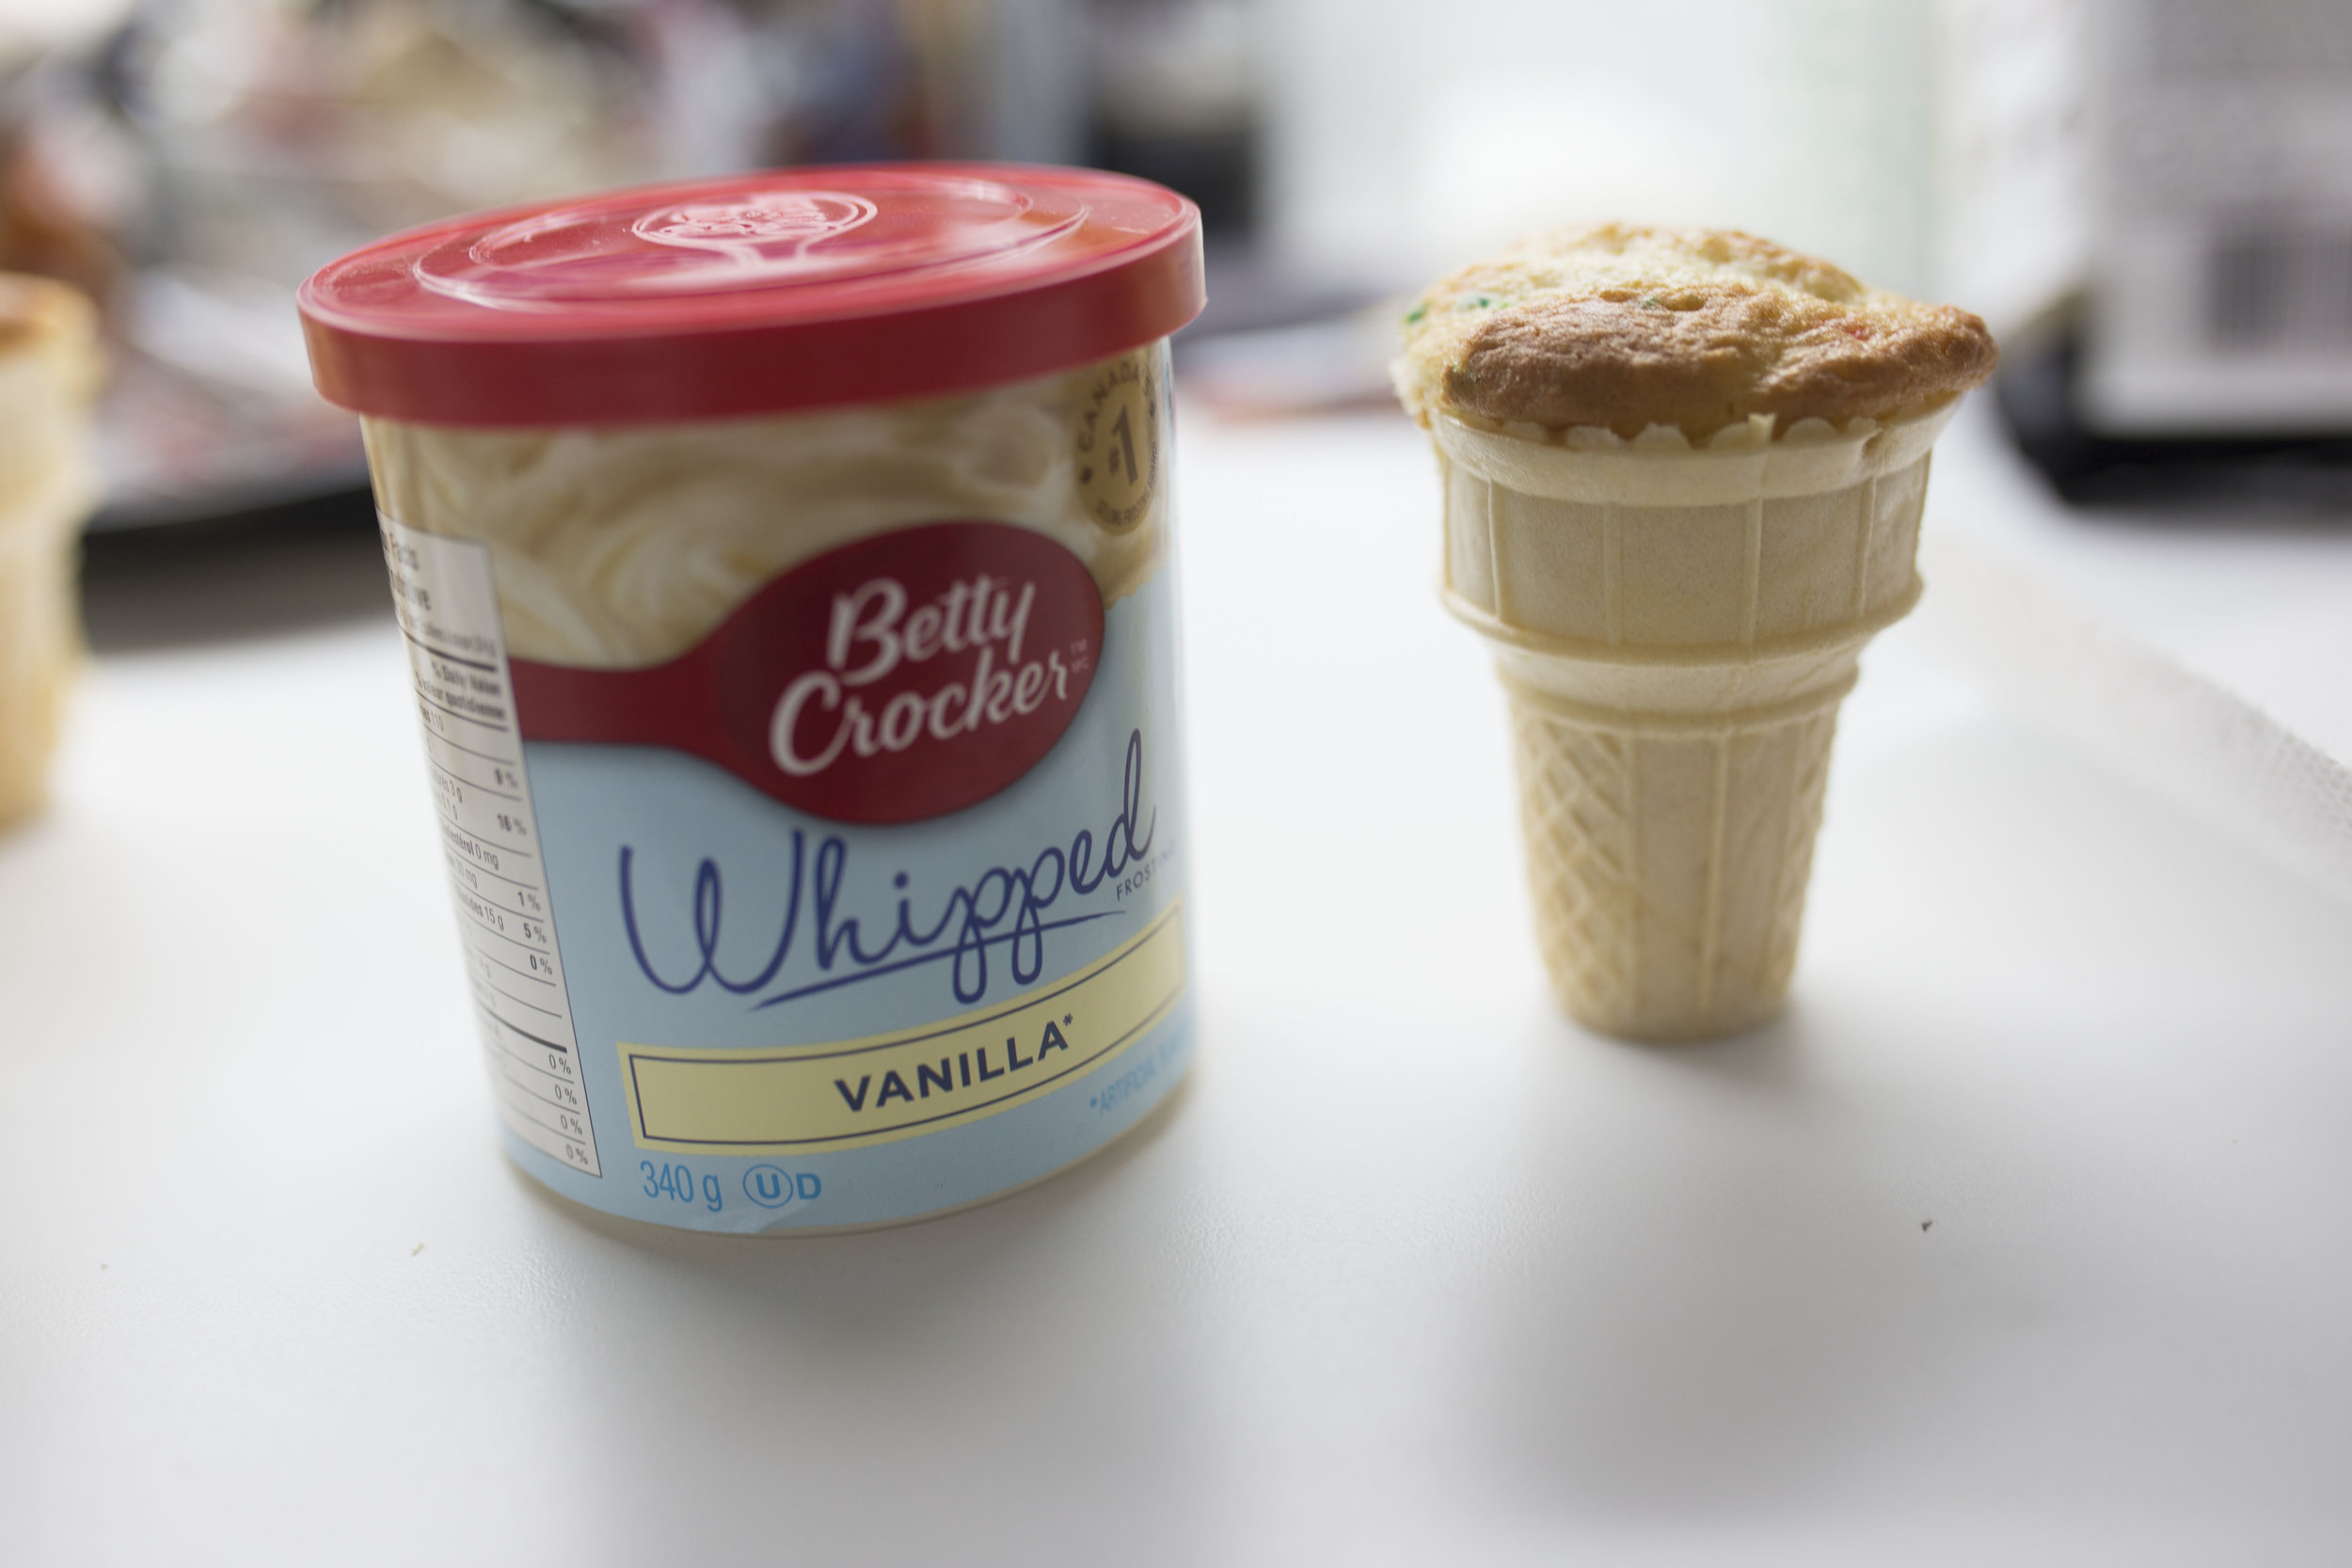
I used the already made “whipped” version icing from Betty Crocker. They sell it all the time at the dollar store with a couple flavour options (chocolate or vanilla). I chose vanilla because it’s my favourite ice cream flavour.
Using an icing bag with a flower tip, or even a plastic sandwich bag, fill your bag by spooning in the icing from the can until your bag is full. Begin by squeezing icing onto the centre of your cupcake and swirling until you have overlapped three times in height.

Or simply, you can watch a YouTube video of people using ice cream machines and just copy what you see!
Toppings!
This is my favourite part! It doesn’t look like an ice cream cone until the toppings go on and that’s when it starts to look like the real thing. The most popular is the coloured sprinkles and since I used confetti batter, it made sense.
To sprinkle without too much of a mess, place paper towel underneath your cone to catch the sprinkles that fell off. Sprinkle straight from the bottle. 90% usually fall straight onto the icing and stay glued to it.
Have a photo shoot (Optional)
Because I am a blogger, it’s part of my job to take pictures. I mean this post would be pretty boring without them. However, if you love to take pictures of your life happenings, then grab your camera because what you did was pretty cool! Show it off to the world!
I hope you enjoyed this tasty recipe! Be sure to share this post with your friends!
Thanks for reading!
The Dollar Store Girl